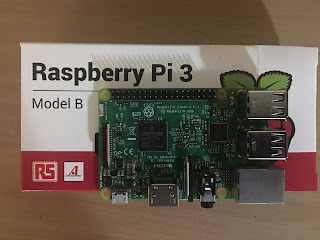
Raspberry Pi with Pi Camera
In this module, I will describe on how to connect and use Pi Camera with Raspberry Pi.
Requirements:
2. HDMI Cable connected to a TV/ Monitor.
3. A Raspberry Pi , Pi NoIR V2 Camera.
Connecting Pi camera with Raspberry Pi:
2. Open up your Raspberry Pi Camera module. Be aware that the camera can be damaged by static electricity. Before removing the camera from its grey anti-static bag, make sure you have discharged yourself by touching an earthed object (e.g. a radiator or PC Chassis).
3. Install the Raspberry Pi Camera module by inserting the cable into the Raspberry Pi. The cable slots into the connector situated between the Ethernet and HDMI ports, with the silver connectors facing the HDMI port.
4. Boot up your Raspberry Pi.
5. From the prompt, run "sudo raspi-config". If the "camera" option is not listed, you will need to run a few commands to update your Raspberry Pi. Run "sudo apt-get update" and "sudo apt-get upgrade".
6. Run "sudo raspi-config" again - you should now see the "camera" option.
7. Select Interfacing Options.
8. Select Camera
8. Enable the Camera.
9. Select “Finish” and reboot your Raspberry Pi.
Launching camera to take pictures:
Pictures can be taken via two ways:
1. By command line interface "raspistill".(Needs no programming knowledge)
This is inbuilt command interface that can be used to take pictures wthout any prior knowledge of any programming language. To capture an image in jpeg format, type "raspistill -o image.jpg" at the prompt, where "image" is the name of your image.
2. By python script.
Steps:
a.) From the Pi Home screen launch the terminal.
b.) Run "cd Desktop/" and then "nano cameraexample.py"
c.) Type the below code into the editor and save it.
import time
import picamera
camera = picamera.PiCamera()
camera.Capture('image.jpg')
Note: Follow the link https://wiki.gentoo.org/wiki/Nano/Basics_Guide if you are a newbie to nano editor.
d. ) Save the file and from terminal Run "python cameraexample.py". You will now see a image file created with the name "image.jpg" on the Desktop. Open this file. This is your captured image.


